中文 (中国)
 Tiếng Việt
In the highly demanding landscape of electronic component and medical device manufacturing across industrial hubs like Que Vo (Bac Ninh) and VSIP (Binh Duong), mastering your equipment is the ultimate key to guaranteeing absolute cross-linking quality. A minor error in operation can instantly lead to massive product defects or wasted electricity. At COUSZ Vietnam, we provide this comprehensive guide to using UV curing systems to help enterprises master the technology, optimize their workflows, and protect their hardware long-term.
Ultraviolet photopolymerization has become an indispensable element of the modern supply chain. According to comprehensive reports from Grand View Research, the automation trend in adhesive drying is actively helping enterprises boost overall productivity by up to 30%. However, to achieve this phenomenal number, operators must deeply understand optical physics parameters and precise technical protocols. Following a reliable guide to using UV curing systems is non-negotiable.
1. Preparation before operating the machine
Before you even power on the device, meticulous preparation forms the foundation to prevent disruptive operational failures.
- Check the power supply: Ensure a highly stable electrical source (220V or 380V, depending strictly on your specific model). Sudden voltage drops can catastrophically destroy the machine’s internal digital power supply.
- Inspect the environment: The installation area must be rigorously clean and dust-free. Microscopic dust adhering to the quartz optical lens will severely degrade the radiant intensity over time.
- Equip protective gear: This is the most vital prerequisite regarding UV curing safety guidelines. The operator is strictly mandated to wear specialized anti-ultraviolet safety goggles that meet the ANSI Z87.1 global standard.
- Verify adhesive compatibility: Guarantee that the industrial glue or ink you are currently dispensing chemically matches the machine’s specific wavelength (e.g., 365nm, 385nm, or 395nm).
2. Detailed instructions for cousz machine series
Every single machine series manufactured by COUSZ features highly specialized characteristics. Fully understanding how to operate your specific model according to this guide to using UV curing systems will help you maximize its industrial utility.
2.1 Spot curing systems
These highly precise machines are typically deployed for micro-locations requiring extreme accuracy, such as smartphone camera modules or medical syringe needles, where strict control over energy and curing time is demanded.
- Step 1: Securely connect the Liquid Light Guide (fiber optic cable) into the emitting port of the controller, ensuring it clicks firmly into place.
- Step 2: Power on the main switch and configure the appropriate exposure timer on the digital display.
- Step 3: Mechanically fix the emitting head directly above the target area. Maintain a rigidly stable working distance to ensure the photon energy is focused accurately and uniformly onto the micro-droplet of glue.
If you are looking for a more detailed guide on operating spot curing applications, refer to our step-by-step article on How to Use Spot UV Curing Systems: A Detailed Step-by-Step Guide, which provides practical instructions for achieving precise and efficient curing results in various industrial settings.
2.2 Standard touchscreen models
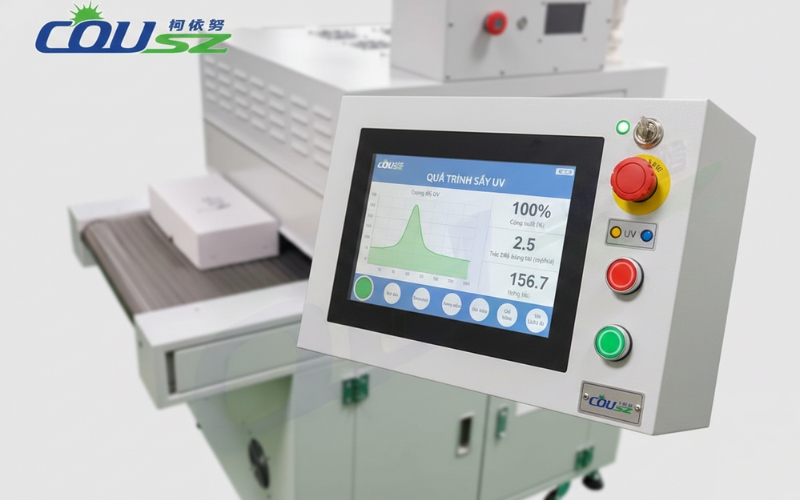
These are highly advanced modern systems integrated with a PLC, granting the operator deep access to technical parameters. When operating UV LED equipment of this caliber, the intuitive touchscreen interface allows users to monitor the LED chip’s junction temperature and the real-time ultraviolet radiant intensity effortlessly.
- Main Interface: Displays the current operating power (%), the active status of the thermal cooling system, and critical error warnings allowing the operator to react immediately.
- Manual / Auto Modes: Allows seamless switching between manual triggering and fully automated modes, supporting direct digital handshakes with robotic dispensing arms on the assembly line.
For a comprehensive overview of system operation, maintenance, and safety standards, you can explore the COUSZ Standard Model UV Curing Systems User Manual, offering in-depth technical guidance to help users maximize performance and ensure long-term equipment reliability.
Accurately setting the output power, irradiation distance, and exposure duration is the absolute core of success. A proper guide to using UV curing systems ensures you control these metrics flawlessly.
👉 Learn how to elevate your manufacturing lines:
Safe operation of UV curing systems in industrial environments
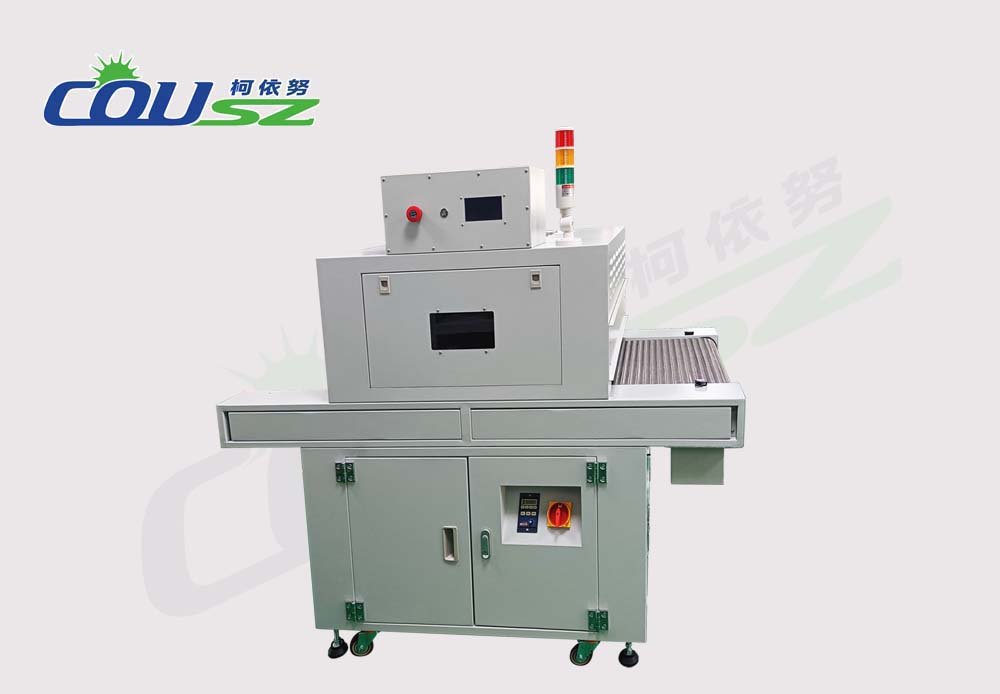
3. The 5-step process for conveyor systems
To ensure an automated conveyor operates at peak efficiency, process engineers must strictly follow this 5-step protocol outlined in our guide to using UV curing systems:
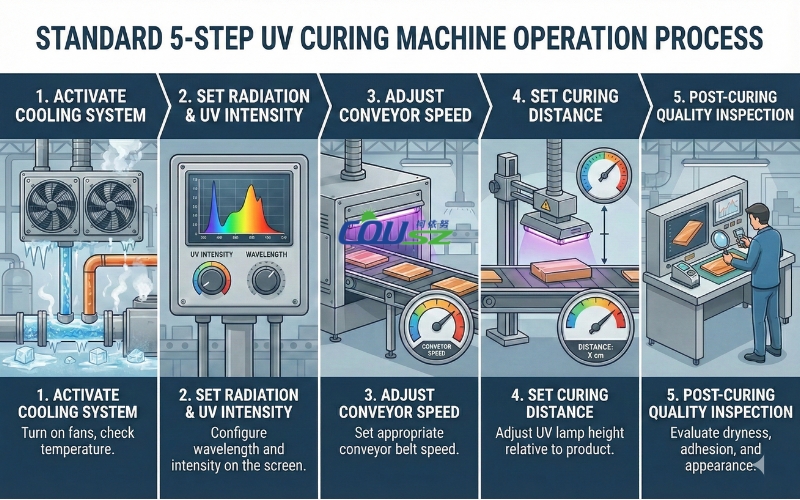
3.1 Step 1: start the cooling system
The high-velocity exhaust fans or the industrial water Chiller must be actively running before the LED array illuminates. This immediately protects the semiconductor chips from devastating thermal shock.
3.2 Step 2: set the irradiation parameters
Here, you must digitally adjust the machine’s optical power output, which is displayed as a percentage (%). When do you need to increase this percentage? You must raise it when switching to an adhesive with lower photo-sensitivity or when accelerating the belt. According to photochemistry research by RadTech, Accumulated Energy (mJ/cm²) is the mathematical product of Intensity (mW/cm²) multiplied by Time (s). If the exposure time decreases, you must mathematically compensate by increasing the intensity.
3.3 Step 3: execute UV conveyor speed adjustment
A highly standardized line requires a perfect, rhythmic coordination between light intensity and belt movement. Proper UV conveyor speed adjustment dictates that the thicker the adhesive layer, the harder it is for light to penetrate deep into the core. You should lower the belt speed to give the glue sufficient time to “absorb” the necessary photon energy, guaranteeing a complete through-cure from the top surface down to the substrate base. Mastering UV conveyor speed adjustment is critical to eliminating wet, uncured bottoms.
3.4 Step 4: establish the curing distance
The importance of maintaining a rigidly stable curing gap cannot be overstated: Distance directly triggers the Inverse Square Law of light. If the physical distance shifts by a mere 5mm, the actual radiant intensity striking the product can plummet by 20-30%. Utilize a precise caliper to permanently lock in the optimal working distance (typically 5mm-40mm depending on the optical quartz lens).
3.5 Step 5: post-cure quality check
Always execute a physical adhesion test (such as the Cross-hatch tape test) to empirically verify that the programmed curing process is 100% accurate before running a mass production batch.
4. Absolute safety principles during operation
Operating high-intensity ultraviolet machinery always carries inherent physical risks if the operator lacks deep knowledge regarding UV curing safety guidelines. Therefore, strict compliance is a mandatory requirement on the factory floor.
- Never look directly at the light source: High-intensity ultraviolet radiation can cause severe corneal inflammation and permanent retinal damage within just a few seconds of direct, unprotected exposure.
- Implement light shielding: Install dark acrylic shields or specialized anti-UV curtains to prevent scattered radiation from escaping into the surrounding work zones, strictly adhering to global UV curing safety guidelines.
- Beware of radiation leakage: If you detect intense blue-purple light heavily leaking out of the curing chamber, halt the machine immediately and inspect the integrity of the shielding curtains, covers, and mechanical joints.

5. Quick cleaning and maintenance instructions
According to every professional guide to using UV curing systems, executing routine cleaning and proactive maintenance plays an incredibly vital role in sustaining a stable radiant intensity. This effectively minimizes expensive repair bills and slashes machine downtime when operating UV LED equipment.
| Maintenance Task | Frequency | Detailed Action Required |
|---|---|---|
| Lens Cleaning | End of every shift | Use 99% Isopropyl Alcohol with a lint-free cleanroom wipe to gently remove adhesive off-gassing and dust from the quartz lens. |
| Cooling System Check | Weekly | Ensure all ventilation slots are completely clear. Check chiller water levels and inspect for kinked hoses. |
| Radiometer Logging | Weekly | Record the peak intensity (mW/cm²) using a calibrated radiometer to track diode degradation over time. |
6. Faqs – common questions
Why is only half the lamp on, or why is it flickering?
This is a major indicator of a loose connection cable or a failing power supply board within the main controller. Shut the machine down immediately and reseat the signal cables. If the issue persists while operating UV LED equipment, a specific block of LED chips may have burned out and requires deep professional maintenance or a complete head replacement.
Do I need to wait for the machine to “warm up” before curing?
With COUSZ’s advanced solid-state technology, you absolutely do not need to wait (Zero Warm-up). The diodes reach 100% peak optical output the exact millisecond they are switched on. This is an overwhelming advantage that drastically saves factory electricity compared to legacy mercury lamps, which notoriously require 5-10 minutes to stabilize their thermal output.
7. Contact for technical support and quotes
Do you require further technical assistance, or do you want to schedule a professional training session for your assembly line workers based on this guide to using UV curing systems? Connect instantly with our elite engineering experts:
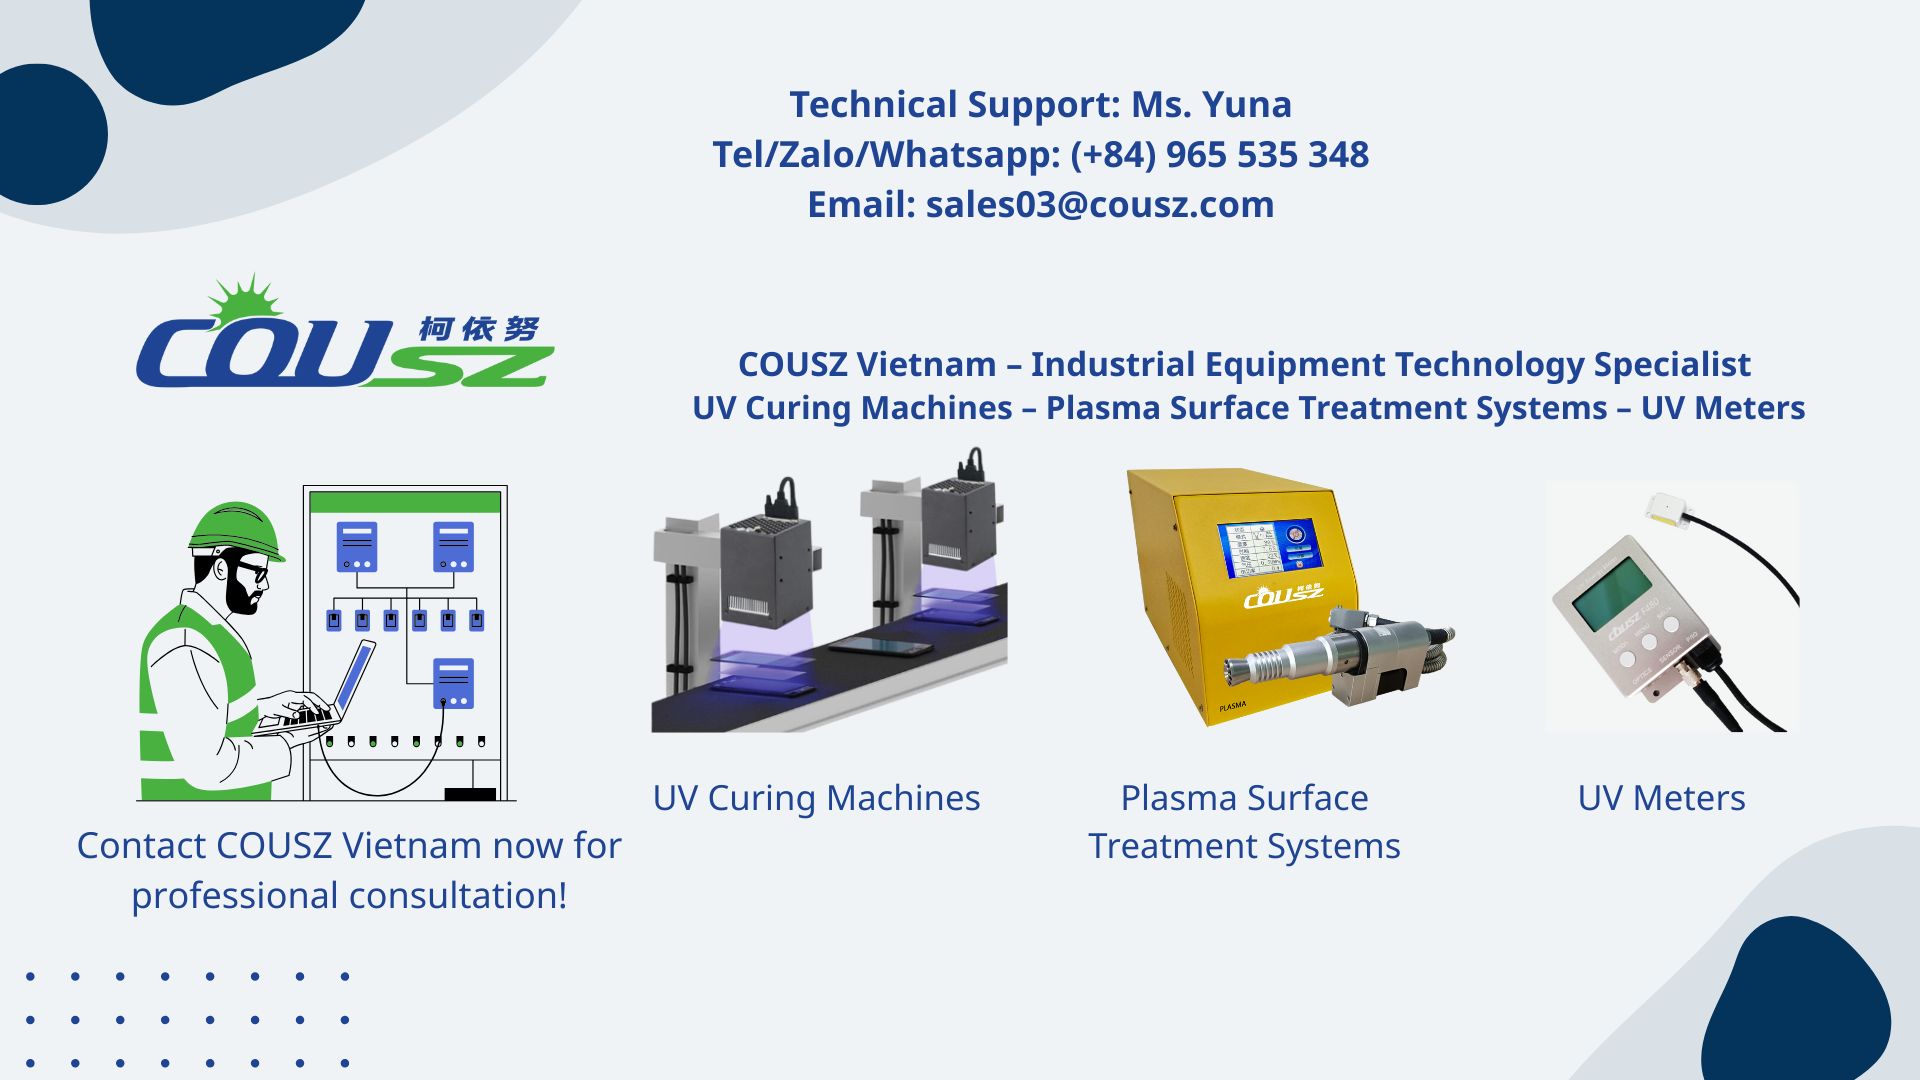
👩💼 Consultation Expert: Ms. Yuna 🌟
📞 Tel / WhatsApp / WeChat / Zalo: (84) 965 535 348
📧 Email: sales03@cousz.com
🌐 Website: cousz-vn.com
🏢 Address: Ngo Xa Village, Phat Tich Commune, Bac Ninh Province, Vietnam.